Showing posts with label diy. Show all posts

Thursday, February 23, 2012

DIY Up-cycle Crayons


Omg- How cute is this? What a perfect way to recycle broken crayons. I stumbled across this DIY crayon project by Jenna of Barnyardchic and instantly fell in love. It's the perfect weekend project to do with the kids. Visit Jenna page to see the step by step tutorial.

From this:
To this:


Pretty neat, huh?

Sunday, February 5, 2012

Take a Smile

Yay, it's time for a vacation! I am going to be gone for a week. But before I go, I wanted to share this with you guys...


Yes, please. I love this!! Saw this on pinterst and a fellow blogger's page a while back and thought it was such a neat idea. I'm thinking of making one for myself and sticking it on my office door. I guarantee you the smileys will be gone in an hour. Yes, this will be my DIY for today. Ah, I LOVE it!

Yes, you can take a smile too. =) 

Thursday, January 26, 2012

DIY- Ninja Bookmark


Yes, you guessed it right... This little man is indeed a ninja bookmark. =) And as promised here is the tutorial.

What you will need:
-Black, cream, red cardstocks
-Ninja Template
- Single or double sided Tape
-Scissor/ cutter. *Please use caution when using sharp objects*

Okay, let's get started.

Thursday, January 19, 2012

Sneak Peek- DIY

Sneak Peek


of my next DIY. What do you think?
Would you be interested in making this?
What do you think it is?
-----------------------------------------------------------------------------------------------------------
Tune in next Thursday for the DIY tutorial =) I love it. Can't wait.

Friday, December 30, 2011

DIY 2012 calendar

So, 2011 is finally coming to an end...


and what's a better way to kick off 2012 than with your own calendar to help keep track of your success! Today, I have for you a super easy DIY desk calendar tutorial. I made one for myself last year and found it to be very useful. It helped keep me on track and organized-- I used it for everything-- to track bill due dates, doctor's appointments, etc. And I know it will definitely come in handy for all you business owners out there-- it can help keep track of your invoices-- the order dates, shipping dates, etc. Anyway, I hope you find it as helpful as I did. =)

Materials you will need:
-Microsoft publisher
-Printer
-recycled cardboard-- cereal box or any type of box
-black cardstock paper
-glue
-ruler
-scissor


But Before we begin, I want to give a little shout out to Dawn of p1xie for featuring my DIY pompom tutorial on her blog. Be sure to drop by her blog to see how her pompom topper turned out.  =)

Okay, now we can begin.

Thursday, December 22, 2011

DIY- Gift Bag


Need a last minute gift wrapping idea?


Yes? Then you have come to the right place. Today, I have for you a super simple Eco-friendly DIY gift bag tutorial. I made this out of recycled brown paper. Oh, and in less than 10 minutes too. =) 

This tutorial makes a 7 1/2" x 3 1/2" 6 1/2" (L*W*H) bag.


What you'll need:
- Paper- recycled brown paper bag or wrapping paper
-Ribbon/String
-Cardboard/cardstock-- I am using recycled cereal box
-Scissor
-Hole puncher
-Glue/Tape- I prefer double sided tape
-Ruler

Recommended materials for decoration:
-Tissue paper
-Gift Tag

But before I begin I'd like to say a little thank you to exCurlythoughts for listing my blog as one of the blogs she admires. It totally made my day. =) So, thank you!  

Okay, now we can get started...

Thursday, December 15, 2011

DIY wrapping

It's beginning to look a lot like Christmas.

Everywhere you go.. something something white with snow.... Okay, I don't know the rest of the lyrics.. >_<  Anyway, I'm so excited; Christmas is less than 2 weeks away.  If you haven't started your Christmas shopping then you better hop to it! And for all of those who have, it's time to start thinking about wrapping. So, I hope you found last week's tutorial helpful. I also hope you took my advice and saved some tissue paper cause today I have a super simple, but yet pretty wrapping tutorial that will fit the box we made here. May I add that it's very budget friendly- costs less than 30 cents to make.  =)


Here's what you'll need:
-Tissue paper-3 sheets. if you have some lying around- great! If not, don't worry, you can get them at the dollar store! 30 sheets for $1.
-Double sided tape
-Ribbon
-Scissors
-Tag


Okay, let's get started--

Thursday, December 8, 2011

DIY gift wrapping


Who said Eco-Friendly has to be boring?  

Sure, a regular brown paper bag can look plain and simple, but just like everything else you can dress it up. Just add a splash of color and a dash of accessories and voila-- you have yourself a new look.

I made these for Christmas last year and they were a big hit. Everyone were oohing and ahhing over them.  So, I wanted to show you guys that Eco-Friendly does not have to mean boring. This pom pom tutorial is made especially to fit the box we made last week and I only used materials I had lying around the house.


What you will need:
- Tissue paper- I am recycling tissue paper that came with my bags and gifts from my shopping spree that I had a few days ago.  If you do not have any lying around you can grab some at the dollar store. 30 sheets for $1. Now that's a deal! 
-Thread and/or ribbon (ribbon was the only thing I had to buy)
-brown paper bag or newspaper, old maps, whatever you can find.
-Scissor
- single or double sided tape- I am using double

Okay, let's get started...


Thursday, December 1, 2011

Eco-Friendly DIY- Gift Boxes

Hold on now, that's not junk! Before you throw out that cereal box, why not recycle it into something useful? You can turn it into a gift box, storage box, book holder, desk organizer, picture frame, etc. the possibilities are endless.

I try to recycle whenever I can, so I was really excited when my friend showed me how to make a gift box out of a cereal box. We used this site as a guide, however, I had to change a few steps because my box would not close properly. Anyway, the box came out looking so cute that I wanted to share it with you guys. This is my version- you can see the original here. This is also my way of leaving my tiny green footprint. =)

Okay, let's get started!

 
You'll be needing:
-An empty Cereal Box
-Glue (make sure it is strong enough to hold the box together)
-Scissor


Thursday, November 17, 2011

DIY Brush holder

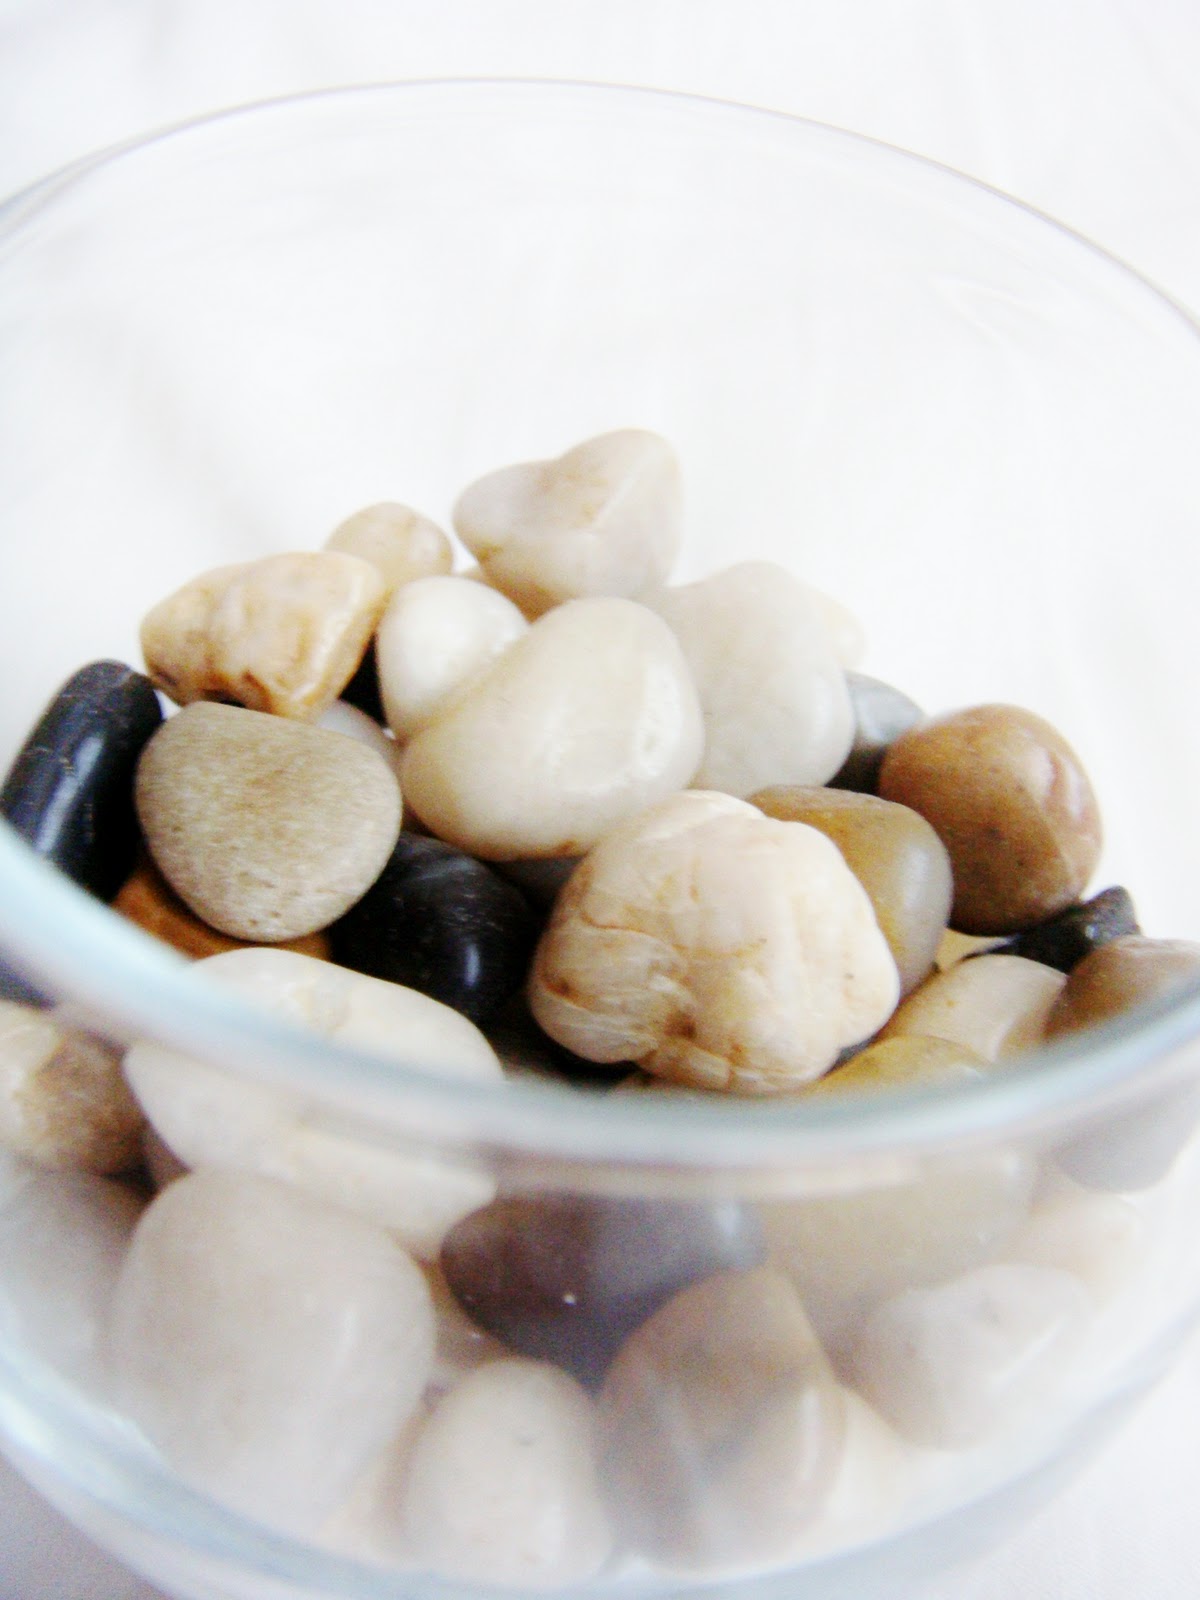
I I love candles, but I never know what to do with the empty jar once it's all used up. I really hate throwing away perfectly good stuff and I so try to recycle whenever possible. Anyway, since my makeup table has gotten so clutter over the past few months, I've decided to do a little redecorating... and found a perfect way to recycle/re-purpose the empty candle jar- My very own makeup brush holder. See 'read more' to find out how to make one for yourself.


               Make-Up Brush Holder

Related Posts Plugin for WordPress, Blogger...